Wednesday, 30 November 2011

SE Double Disc Pack

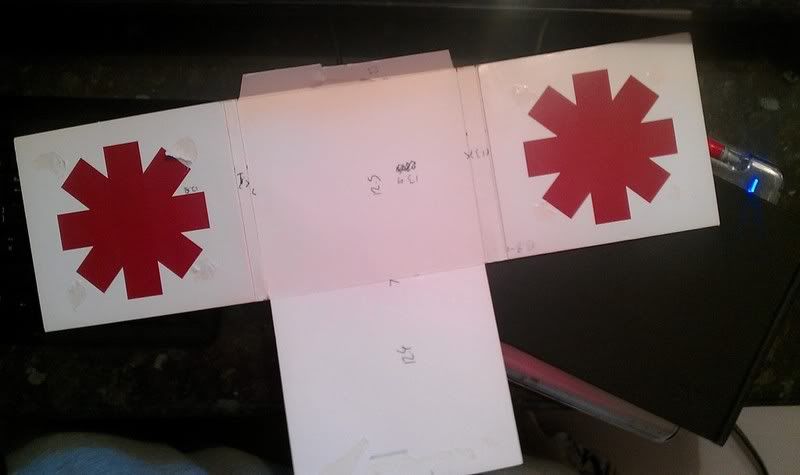
Below is the start to finish of creating the special edition double disc pack. As on my DC blog I was looking at ways in which would best package the album. I decided on this card fold out net which I took apart to get some clearer dimensions.

Uploaded from the Photobucket Android App

Uploaded from the Photobucket Android App

Photobucket

Photobucket

Photobucket

Photobucket

Photobucket

Photobucket

Photobucket

Photobucket

Photobucket

Photobucket

Photobucket

Saturday, 26 November 2011

Packaging

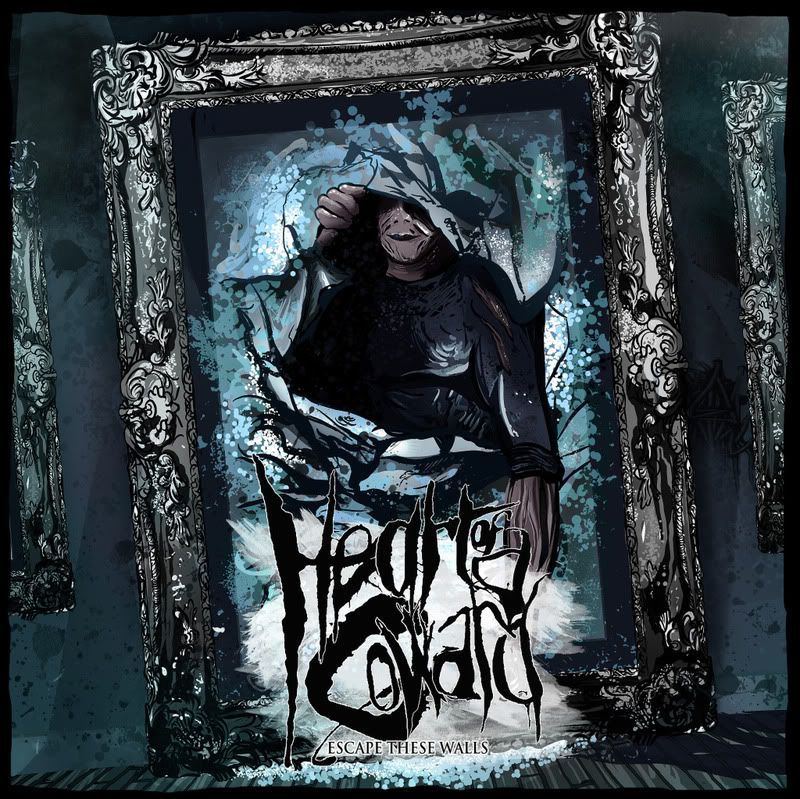
So from looking at various ideas to try and depict the album title 'Escape these Walls' I'd decided to run with idea of a painting in an art gallery. As mentioned in my notebook I wanted to show the idea that an artist can paint his idea of a subject but this is always in the mind of the creator. The real subject, the subject that is been put onto paper is breaking the creators ideas, escaping the walls of being trapt in a precomposed idea for the world to see. So very metaphoric, but the main underlying message is a person breaking free from someones preconception and showing their true selves. Escaping the walls/bounderies/entrapment in the image etc.

Now that I had this idea I began to plan ideas of creating this as an image. To make this a little clearer I wanted to set the image in an art gallery style back drop. Rather than making up my own idea of what this would look like I took a look around Leeds art Gallery (documented on DC) and sourced various imagery from the net.

With this in place I then began on the idea for how the to have our character bursting though a frame. I started sketching out ideas which were beyond rough and actually quite difficult to create mainly because of trying to imaging how paper reacts and creases in an action of being broken.

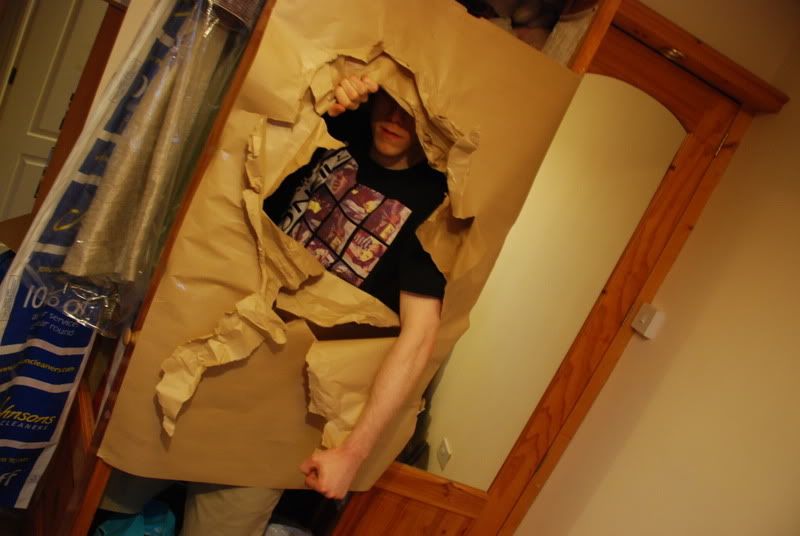
To solve this I got hold of some large sheets of paper and a mate with a wardbrobe. The pictures below show what I'm getting at. If it's taking so much time to illustrate one angle, why not just mock up the idea and photogrpah 100 outcomes in less than an hour. The images then later set the ground for sketch overs in PS. The process of doing this was invaluable really as I was able to pan around and look for what would work/suit best the proposed concept.

Initially the set up was looking a little flat at first and I wanted to try include a little more shadowing so we ended up using two layers to offset the look a little and created some more interesting light fall off.


The set of images below were the ones I was finding more useful.


The style of pose I was wanting wasnt something agressive. I think in general theirs an idea that the hardcore genre is all about aggresion and power but to me that's a little sterotypical and very un-true. The positioning I was after was more of a casual, stepping out style. Not smashing through with a big face screaming at the viewer from the front cover. I think something like that would appear cheap and uninteresting. I also thought it was important to hide the eyes, just to add a mysterious feel about the character.

A range of possible concepts were then created from the images I was favouriting. What I thought was important was to start working within a square format to see how these work within context of a cover. I also included the typeface to see how everything could work together.


Gallery Concepts


Here's the main image that was taken forward for futher development:

Photobucket


Image for the trace and sketch overs,


Further edits/Colour


Final Colour changes to end results


Final Edit
Photobucket

Thursday, 17 November 2011

Type Development

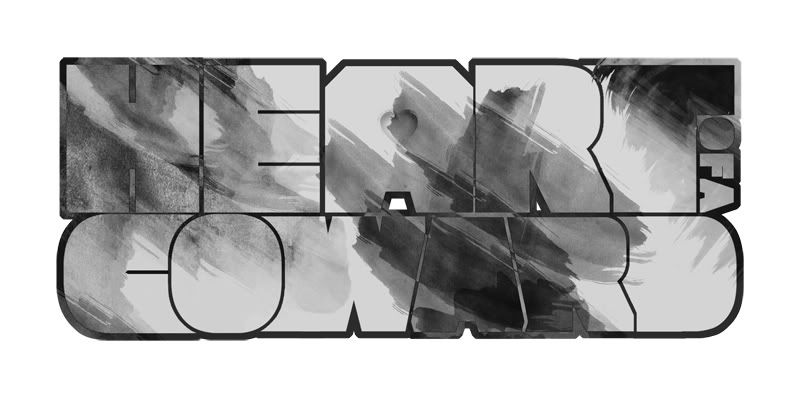
The first piece of work I'll bet getting into will be the album art. For this piece I thought it would make more sense to start with the type first which will help me get an idea of how the image will flow with the new logo.

To get my mind into the workflow I started looking back at my DC posts on existing album art. From this, using the band title I started to imitate the styling of each range of type to see how the text was working. What I found with most was that the logo and album title were more so based on existing fonts with some grungy splattered effects masking out areas to grit them up a little. Knowing that my approach to the art direction will be illustrative based and work with the idea of a hand rendered finish I wanted to avoid existing type.

Taking inspiration from the album titles I'd collected I started sketching out some ideas. I orgionally wanted to choose a nice hand rendered style appose to working on Photoshop but I didnt't want to have this sudden jump to a style so here's some variation in style.


Photobucket

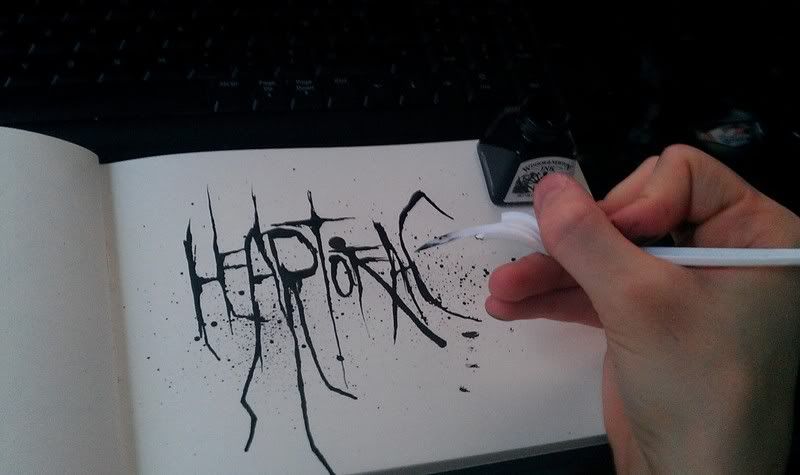
I was starting to get a little bored of pencil and PS based work so I went a little further into my DC posts to recap on the ideas I'd seen with inking and woodcuts. With this in mind I bought a small pot of ink and started sketching with the nearest pointy object I had to hand, a plastic fork.

The first few images in this issuu are a little ropey but it was my first time using inks really so it took a bit of getting used to. Normally I wouldnt include these but I guess it's development.
Photobucket

Was also trying a few other random objects for my scratchy effect like a sewing needle and bits of card

More ideas from sketch book:


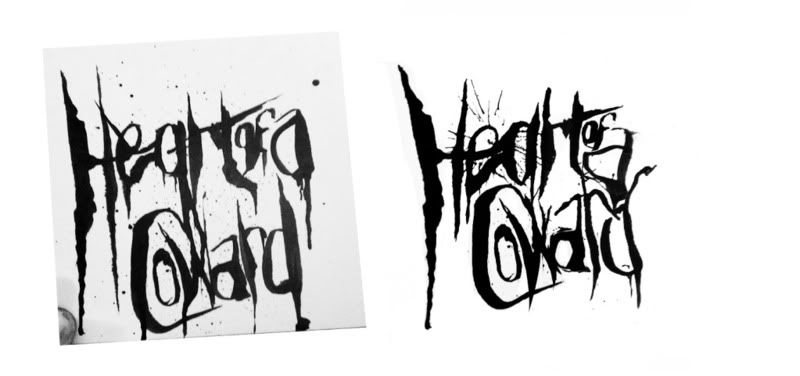
I was really liking the effect the ink was giving but I needed to try and experiment more in the layout of my type and not just test the inking methods. It the text was all sitting on one time I realised that I'd have to centre up my text on the album for it to look right. But what with the length this could cause difficulty with my illustration as I've now effectivly lost a nice chunk of space at the top. The idea below is a development from two of the tests shown about in my issuu binder.

Origional Sketch
Photobucket

In this image it shows a bit of a comparison off the origonal sketch to what I started working with. There was a lot of features that I really liked in other inkings I did and sinse I wasn't quite happy with the lettering in this image I started piecing out sections I liked that multiple other drawings to get this hybrid version if you like.

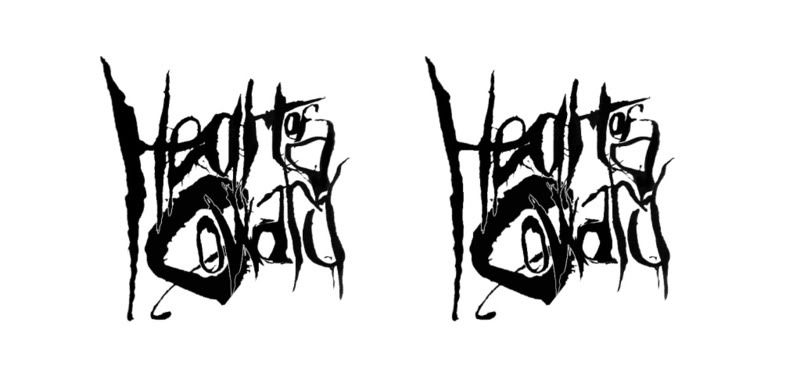
Thick/Thin Versions
Photobucket

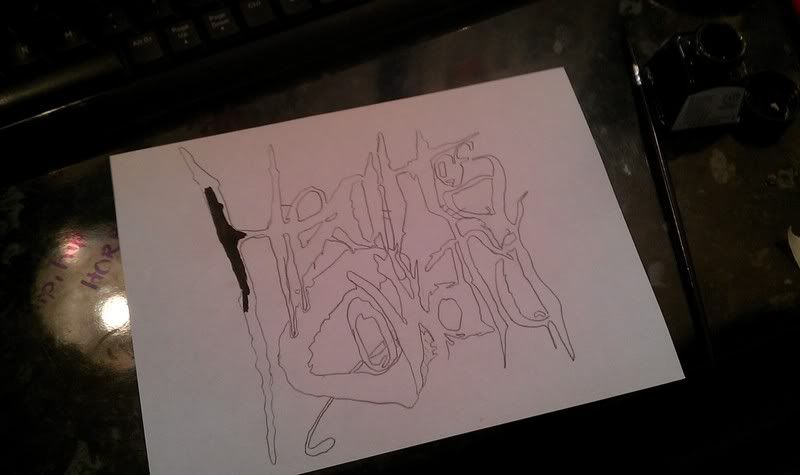
Was liking the stage where I'd gotten to now but I was making these edits from tiny JPEGS taken with my phone and the quality wasnt great. To fix this I sorted out a quick trace of the image (actually traced it off my monitor.. wouldnt recommend) and re-inked it by hand to re gain that hand crafted feel and get rid of that polished look.
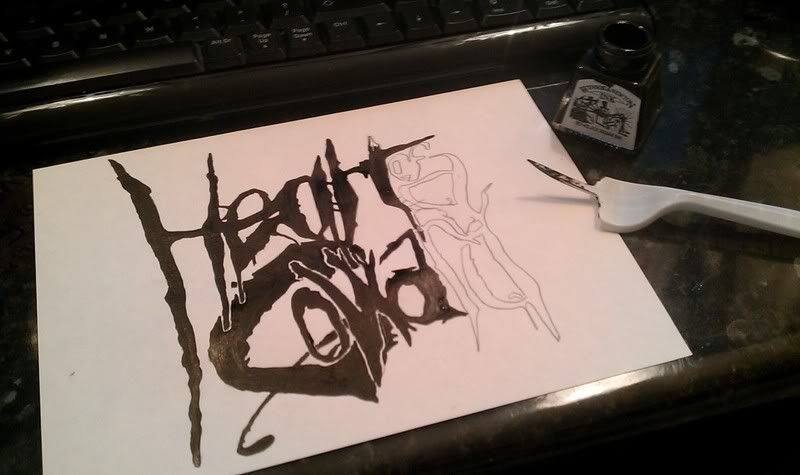
Photobucket

Photobucket

Wouldn't so much say Final Image for now but I'm close. Ignore the background by the way, I just quickly threw it together to help show the idea, this won't be used in the final comp.
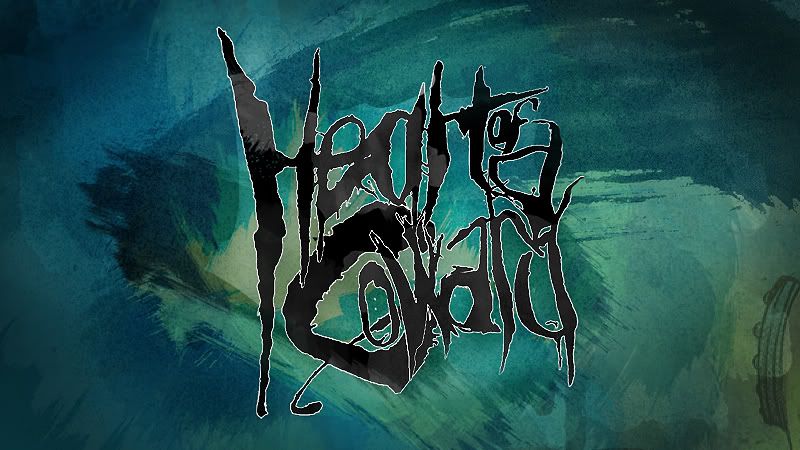
Photobucket

Thursday, 10 November 2011

Information Graphic for ends of Shelving

Photobucket


Photobucket


Photobucket


Photobucket


Photobucket

Photobucket

Photobucket

Photobucket

Catalog Cover - Revisions

After not being happy with the cover I spent some time making it more simple and to the point. It seemed far too cluttered before so maybe this is a better resolve.

Photobucket

Photobucket

Photobucket